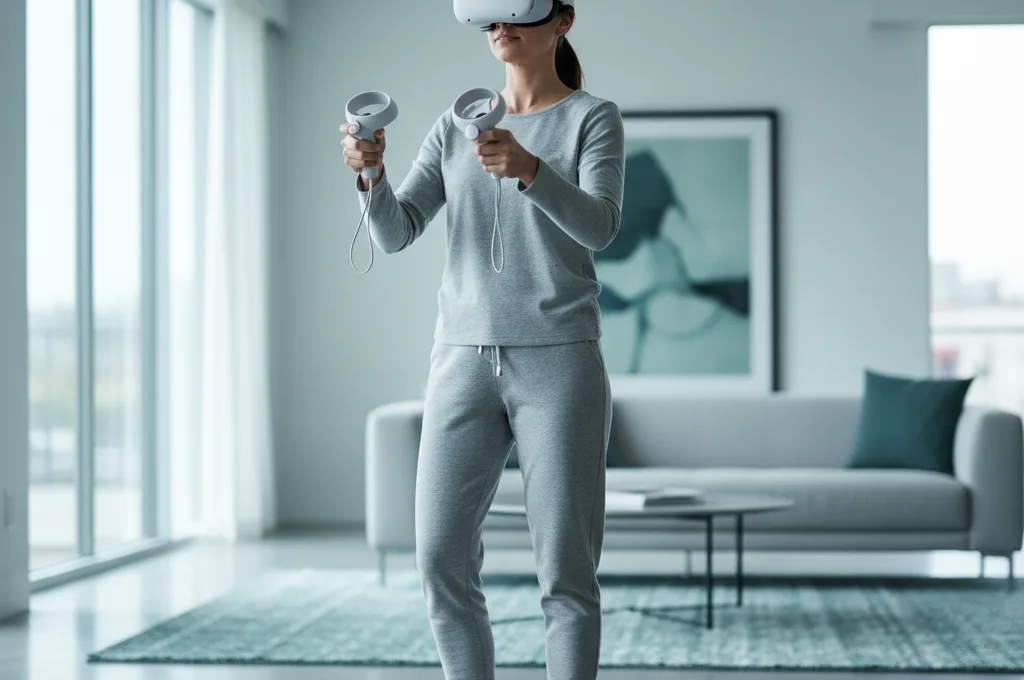
How to Get Your VR Legs: A Research-Backed Habituation Schedule
If you just took off your headset feeling dizzy, sweaty, or nauseous, take a deep breath. You are not alone, and for most people, this feeling does not last forever. When you first start exploring virtual reality, your brain is easily confused by the mismatch between what your eyes see and what your inner ear feels. The process of teaching your brain to handle this mismatch is what the community calls getting your "VR legs."
If you are searching for how to get vr legs, the short answer is gradual, gentle exposure. You build VR tolerance by playing in short, frequent sessions and—most importantly—stopping the exact moment you feel slightly unwell. By slowly increasing your playtime and carefully choosing your games, your brain usually adapts within a few days to a few weeks.
In this guide, we will walk through a practical, week-by-week habituation schedule. We will also look at the exact settings and game types that research shows can help you build your VR tolerance safely, without making you miserable in the process.
What Are "VR Legs" and How Does Habituation Work?
When experienced players talk about getting their VR legs, they are talking about a neurological process called habituation. Habituation simply means your brain learns that a specific stimulus—in this case, the sensory conflict of moving in VR while sitting still in your living room—is safe and not a sign that you have been poisoned.
Emerging / limited evidence. While the underlying concept of habituation is neurologically sound and widely recommended by both developers and players, rigorous VR-specific clinical studies proving one exact, universal "schedule" works best are limited. Everyone’s vestibular system (the balance center in your inner ear) is different. Therefore, any schedule you find online should be treated as a sensible template, not a strict medical protocol.
To understand why habituation takes time, it helps to know what your body is actually fighting. Strong evidence. According to a massive 2024 ACM Computing Surveys systematic review of 223 cybersickness studies, virtual reality sickness is primarily driven by visual-vestibular conflict. Interestingly, the review noted that in modern headsets, the dominant complaint is actually disorientation, followed by nausea, and then oculomotor symptoms like eye strain. When you are getting used to VR, you are training your brain to ignore that initial wave of disorientation.
Moderate / practical. Tracking your own habituation can be tricky. A 2023 paper by Kourtesis et al. (arXiv) points out that popular tools used by researchers to measure sickness, like the SSQ, only measure symptoms after an exposure, not during it. This means the best measurement tool you have is your own real-time awareness. You have to listen to your body while you are playing, not just how you feel after you take the headset off.
The Golden Rule: Stop Before You Feel Sick
If you only take one piece of advice from this article, let it be this: never try to "push through" VR motion sickness.
Moderate / practical. It is incredibly common for new users to think they can tough it out, hoping the nausea will break like a fever. In reality, pushing through almost always backfires. If you force yourself to stay in VR while feeling sick, your brain starts to classically condition itself to associate the smell, feel, and sight of the headset with feeling awful. Eventually, just putting the headset on—even before you turn it on—can make you feel queasy.
Instead, your goal is to stop before the sickness truly sets in. Look for the earliest warning signs:
- A sudden feeling of being too warm or starting to sweat.
- A mild headache or a feeling of pressure behind your eyes.
- Increased saliva production.
- A vague sense of disorientation or dizziness.
The moment you notice any of these signs, take the headset off. Take a break for a few hours, or ideally, try again the next day. By only giving your brain positive, comfortable VR experiences, you build your VR legs much faster.
A Week-by-Week VR Habituation Schedule
Because there is no single scientifically proven timeline for everyone, the following schedule is designed as a conservative, practical template. Emerging / limited evidence. While specific timelines lack deep clinical validation, this gradual step-up approach relies on proven mechanisms of sensory conflict reduction. Adjust the days based on how your body feels.
Week 1: Stationary Acclimation
For your first few days in virtual reality, your only goal is to let your brain get used to wearing the headset, focusing on 3D depth, and interacting with a virtual environment. Do not attempt any games where your character walks or moves continuously.
- Session Length: 10 to 15 minutes per day.
- Game Types: Room-scale or stationary games where you are standing or sitting still. If you move in the game, it is only because you are physically taking a step in your real room.
- What to Watch For: General eye strain or mild disorientation. If you feel fine after 15 minutes, stop anyway. End on a high note.
Week 2: Introducing Discrete Movement
Once you can comfortably play stationary games for 20 to 30 minutes, it is time to introduce artificial movement. However, you want to avoid smooth gliding motions. Instead, use "teleportation" and "snap turning."
Strong evidence. In a controlled 2020 study by Farmani & Teather published in the journal Virtual Reality, researchers found that discrete forward "snap" or teleport-style movement resulted in sickness scores about 40 to 50% lower than smooth continuous movement. Similarly, using "snap turning" (where your view instantly clicks 30 or 45 degrees left or right) cut sickness scores by about 40%.
- Session Length: 15 to 20 minutes per day.
- Game Types: Exploration or puzzle games that allow you to teleport from spot to spot.
- The Rule: Always turn your physical body in the real world if you can. If you must use the controller to turn, ensure snap turning is enabled.
Week 3: Short Bouts of Smooth Locomotion
If teleporting feels completely comfortable, you can begin training your brain for smooth locomotion (using the joystick to walk forward like in a traditional video game). This is where most people struggle, so proceed carefully.
Strong evidence. A 2020 threshold study from San José State University (AIAA SciTech) found that turning (rotational optic flow) triggers sickness at much lower thresholds than moving forward. This means turning smoothly with a joystick is far more nauseating than walking forward at the same speed. Therefore, use the joystick to walk straight, but continue using your real body or snap-turning to change direction.
- Session Length: 10 minutes of smooth walking, followed by stationary play.
- Settings to Use: Ensure you are walking at a steady pace. Strong evidence. The same 2020 AIAA study noted that acceleration (speeding up and slowing down) lowers your tolerance threshold. Keep your walking speed constant.
Week 4: Advanced Movement and Unexpected Vection
By week four, many users find their VR legs are fairly sturdy. You can start playing more intense games, but be aware of situations where the game takes control of your movement, such as falling, being pushed, or riding a virtual vehicle.
Emerging / limited evidence. A small 2024 study by Teixeira, Miellet & Palmisano (International Journal of Human–Computer Interaction) found that "unexpected vection"—a feeling of self-motion that violates what your brain expected to happen—was the strongest single predictor of who got sick. In their study, players who got sick reported unexpected vection 88% of the time, compared to just 31% for players who felt well. If a game features a lot of sudden drops or forced camera movements, ease into it slowly.
Stacking the Odds: Settings and Environment
While following a schedule is critical, you can heavily stack the odds in your favor by utilizing specific comfort settings and modifying your physical environment. If you want a deeper dive into adjusting your headset, check out our guide on the best comfort settings.
Strong evidence. One of the most effective tools you can use while building your VR legs is a dynamic field-of-view restriction, commonly called a "comfort vignette" or "blinders." A 2021 study by Teixeira & Palmisano in the journal Virtual Reality showed that a comfort vignette—which slightly darkens and narrows the edges of your vision only when you move—significantly reduced cybersickness during real commercial gameplay. Always turn this setting on when you are graduating to smooth locomotion.
Emerging / limited evidence. Many veteran players swear by pointing a physical fan at their face while playing. While rigorous, VR-specific clinical trials on airflow are currently limited, the practical mechanism makes sense. A fan keeps you cool (combating the warm, sweaty feeling of early nausea) and provides a fixed sensory anchor to the real world, helping your brain orient which way is "forward" in your room. It is a cheap, harmless trick that is highly recommended by the community.
For more practical tips on your physical environment, including hydration and room temperature, read our comprehensive overview on how to stop VR motion sickness.
Which Games Build Tolerance Fastest?
The games you choose play a massive role in how quickly you get your VR legs. Starting your journey with a high-speed flying simulator or a fast-paced multiplayer shooter is a recipe for disaster.
Instead, rely on games with static environments or games that offer robust comfort options. Look for titles that feature:
- Stationary gameplay (e.g., rhythm games, stationary puzzle games).
- Teleportation movement options.
- Snap turning options.
- Comfort vignettes for any smooth movement.
If you are unsure where to start, we have compiled a list of VR game comfort ratings to help you pick titles that are gentle on beginners and perfect for week one and week two of your habituation schedule.
How to Tell It's Working (And When to Stop)
You will know you are getting your VR legs when you can play for slightly longer stretches without feeling that initial wave of warmth or disorientation. You might also notice that while you still feel a slight stomach drop during a virtual fall, it no longer triggers lingering nausea.
If you want to track your severity over time to see if your tolerance is genuinely improving, you can use our comfort and severity check tool after your sessions.
However, it is important to be honest with yourself. If you have been trying for weeks, strictly following the golden rule of stopping early, and you are making zero progress, it is okay to take a long break. Furthermore, if your dizziness or imbalance lasts for many hours after you take the headset off, you might be experiencing a VR hangover.
When to see a doctor: Virtual reality sickness should resolve relatively quickly once the headset is removed. If you experience severe dizziness, vertigo, or imbalance that lasts for days after playing, or if these symptoms occur when you haven't been using VR at all, you should consult a healthcare professional. You may have an underlying inner ear or vestibular condition that VR is simply aggravating.
Getting your VR legs is a marathon, not a sprint. Be patient with your brain as it learns to navigate these incredible new digital worlds. Keep your sessions short, use your comfort settings, and always respect your body's limits. Before long, you will be exploring virtual reality with complete comfort.
Frequently asked questions
How long does it take to get VR legs?
Can everyone get VR legs?
Should I push through VR sickness?
What games help you get VR legs?
Do VR legs go away if you stop playing?
This is general, evidence-based information, not medical advice. If dizziness or imbalance persists long after VR, or you have a known ear/vestibular condition, see a doctor.