Best VR Comfort Settings to Reduce Motion Sickness
If you just took off your headset feeling dizzy, sweaty, or slightly nauseous, take a deep breath. You are not alone, and you do not have to simply suffer through it. Virtual reality motion sickness—often called cybersickness—is incredibly common, especially when you are new to the medium. The good news is that for most people, it improves over time. Even better, you can take immediate control of your experience by adjusting your vr comfort settings.
Most modern VR games and applications feature dedicated menus filled with vr comfort options. These toggles are specifically designed to reduce the sensory conflict between your eyes (which think you are moving) and your inner ear (which knows you are standing or sitting still). By changing just a few of these reduce motion sickness settings, you can transform a stomach-churning game into a comfortable, enjoyable experience.
If you are looking for the short answer on what to change right now, focus on the highest-impact toggles first. In order of importance, you should enable a comfort vignette (which darkens the edges of your screen when you move), turn on snap turning instead of smooth turning, and switch your movement style to teleportation. You will usually find these options in a game's "Comfort," "Accessibility," or "Movement" menu. If you are unsure how severe your symptoms are or what your baseline tolerance is, you can use our comfort and severity check to gauge where you stand.
Below, we will walk through exactly what each of these vr accessibility settings does, the science behind why they work, and how to configure them for maximum relief.
The Four VR Comfort Settings That Matter Most
While menus vary from game to game, the core comfort options remain largely the same across the industry. Here is a detailed look at the four most effective settings you can change, backed by research.
1. The Comfort Vignette (FOV Reduction)
A comfort vignette—sometimes called "tunneling," "blinders," or simply "FOV reduction"—is one of the most powerful tools available to VR players. When this setting is turned on, the outer edges of your vision will darken or blur whenever your character moves or turns. When you stop moving, your full field of view instantly returns.
Strong evidence. In a 2021 study published in the journal Virtual Reality, researchers Teixeira and Palmisano found that dynamic field-of-view restriction significantly reduced cybersickness during commercial gameplay (specifically testing the game Marvel Powers United VR). Corroborated by ongoing IEEE work, narrowing the visual field during motion effectively calms the brain.
Why does this work? Your brain relies heavily on your peripheral vision to detect physical movement and balance. When your peripheral vision sees the virtual world rushing by, but your body feels no acceleration, your brain registers a toxic sensory conflict. By blacking out the corners so you only play in a smaller central area during movement, the vignette hides the fastest-moving parts of the screen from your peripheral vision. If you are new to VR, we highly recommend setting your comfort vignette to "High" or "Strong."
2. Snap Turning vs. Smooth Turning
In VR, you generally have two ways to turn your character around: physically turning your real body, or using the thumbstick on your controller. If you use the thumbstick, you will usually have to choose between "smooth turning" and "snap turning." Smooth turning spins your view continuously, much like a traditional first-person console game. Snap turn settings, on the other hand, instantly rotate your view by a set number of degrees in the blink of an eye.
Strong evidence. A threshold study from San José State University published at AIAA SciTech 2020 demonstrated that turning (rotational optic flow) triggers sickness at much lower thresholds than moving forward. Simply put, turning is far more nauseogenic than walking forward at the same speed.
Strong evidence. Because smooth turning is such a strong trigger, changing how you turn makes a massive difference. A 2020 study by Farmani and Teather in the journal Virtual Reality found that using discrete snap turning cut sickness scores by about 40 to 50 percent in a controlled study.
When you use snap turning, your brain does not perceive continuous motion; instead, it just processes a series of still images, completely bypassing the visual trigger for dizziness. We recommend setting your snap turn angle to 30 or 45 degrees. If you absolutely insist on using smooth turning, you should immediately go into your settings and drastically reduce the turn speed. A faster smooth turn is often better than a slow, agonizing pan, but snap turning remains the safest choice.
3. Movement Type: Teleport vs. Smooth Locomotion
Just as there are different ways to turn, there are different ways to move forward. Smooth locomotion allows you to push the thumbstick forward and slide across the virtual floor. Teleportation allows you to point a targeting arc at the ground, release the button, and instantly appear in the new location.
Strong evidence. The same 2020 study by Farmani and Teather in the journal Virtual Reality found that discrete forward "snap" or teleport-style movement resulted in sickness scores about 40 to 50 percent lower than continuous smooth movement.
Teleportation is the gentlest way to navigate large virtual spaces. Because there is no visible acceleration or continuous sliding, your brain never expects to feel physical momentum. If a game offers teleportation, a new user should always turn it on.
Moderate / practical. If you must use smooth locomotion, pay attention to the "steering" setting. Games often let you choose between "Head-relative" (you move in the direction you are looking) and "Hand/Body-relative" (you move in the direction your controller is pointing). Many players find hand-relative movement more comfortable because it allows them to look around freely while walking in a straight line, reducing unexpected visual shifts.
4. Asymmetric / Directional Vignette
As VR developers learn more about motion sickness, newer and more advanced settings are beginning to appear in modern titles. One of these is the asymmetric or directional vignette.
Strong evidence. A 2022 study by Wu and Suma Rosenberg presented at IEEE VR found that masking just one peripheral side—specifically shifting the mask about 17 degrees toward the direction of the turn—significantly cut sickness compared to no restriction. Crucially, this method preserved peripheral vision much better than a traditional, symmetric vignette.
If you see an option for "directional blinders" or "asymmetric vignette" in your game's comfort menu, it is highly worth enabling. It provides the stomach-settling benefits of a standard vignette while keeping more of the virtual world visible to you.
Helpful Secondary VR Comfort Options
While the four settings above are your strongest defense against cybersickness, several other adjustments can make your time in the headset much more pleasant. These secondary options are often found in system menus or specific game settings.
Moderate / practical. Static Reference Frames and Virtual Noses. Some games offer an option to display a static cage, a dashboard, or even a virtual nose in the center of your vision. Having a fixed, non-moving object in your field of view gives your brain a stable visual anchor, which can help calm the sensory conflict. This is why racing and flying games, where you sit inside a visible cockpit, are sometimes easier to stomach than walking simulators.
Moderate / practical. Lower Movement Speed. If you are using smooth locomotion, check if the game has a "walk speed" or "movement speed" slider. Slower, steady movement is generally easier to handle than rapid sprinting. However, be aware of acceleration. The AIAA SciTech 2020 threshold study noted that acceleration (speeding up or slowing down) lowers the onset threshold for sickness compared to moving at a steady, constant speed. Try to move at a consistent pace rather than stopping and starting rapidly.
Moderate / practical. Head-Bob Off. In traditional flat-screen games, developers often add a "head-bob" effect to simulate the camera bouncing up and down with each footstep. In VR, this artificial bouncing is disastrous for your stomach. If a game has a head-bob toggle, turn it off immediately so your camera glides smoothly.
Moderate / practical. Frame Rates and Motion Smoothing. Your headset needs to display images at a high, consistent frame rate (ideally 90Hz or higher) to trick your brain into accepting the virtual world. If the game stutters or the frame rate drops, the lag between your head movement and the screen updating will quickly cause disorientation. On PCVR, ensure your graphics settings are low enough to maintain a solid frame rate. You can also check your system settings for "Motion Smoothing" or "Space Sense," which artificially generate frames to keep the image smooth during performance dips.
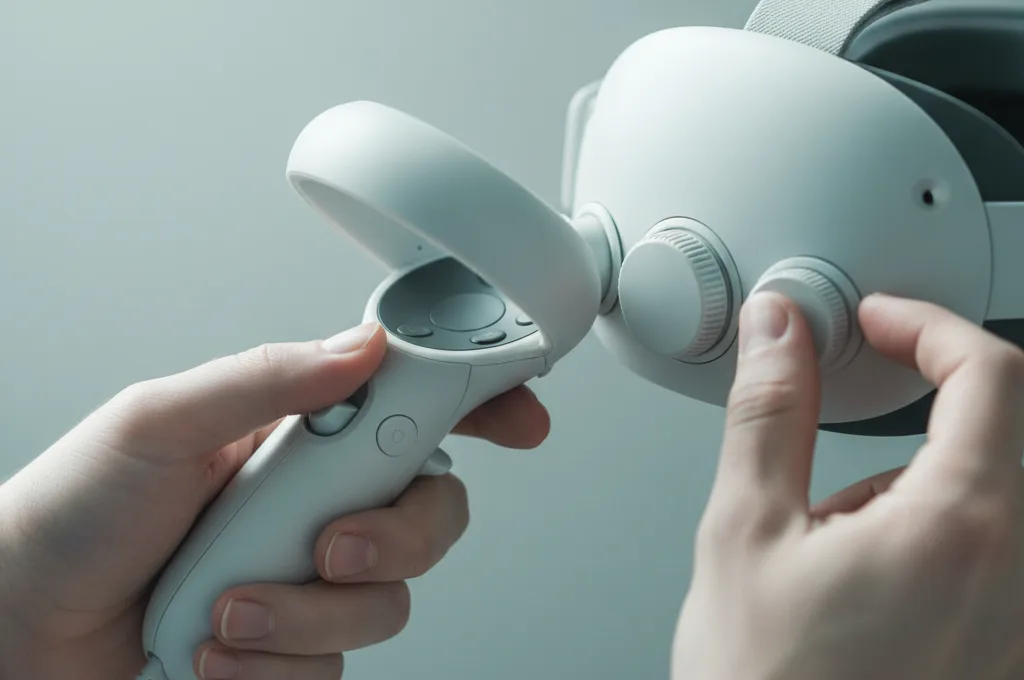
Moderate / practical. IPD (Interpupillary Distance). This is a physical setting on your headset, usually adjusted by a dial or slider. IPD is the distance in millimeters between the centers of your pupils. If your headset's lenses do not align perfectly with your eyes, you will experience blurry vision, eye strain, and headaches, which rapidly accelerate motion sickness. Measure your IPD and set your headset accordingly before you even launch a game.
Where to Find These Settings by Platform
A common point of confusion for new users is figuring out exactly where these settings live. In almost all cases, movement and comfort settings are controlled by the individual game developers, not by the headset itself. This means you have to adjust them inside every new game you play.
- Meta Quest: When you launch a game, press the menu button on your left or right controller to bring up the in-game pause menu. Look for tabs labeled "Settings," "Comfort," or "Accessibility." The Quest operating system does not force games to use teleportation or snap turning, so you must configure this per title.
- PlayStation VR2 (PSVR2): Similar to the Quest, comfort settings are found within the specific game's options menu. Some PSVR2 games will prompt you to choose a "Comfort Level" (such as Beginner, Intermediate, or Veteran) before you even start the tutorial. Choosing "Beginner" will usually apply the strongest vignette, snap turning, and teleportation by default.
- PCVR (SteamVR): While individual games hold the movement settings, SteamVR does have global video settings. You can access the SteamVR dashboard to adjust your refresh rate (aim for 90Hz or 120Hz if your PC can handle it) and manage motion smoothing.
If you are struggling to find a headset that feels comfortable on your face and eyes, which is a major factor in overall endurance, you might want to review our guide on the best VR headsets for motion sickness.
Your Recommended Starting Preset
If you are new to virtual reality, or if you recently had a bad bout of cybersickness, do not try to tough it out with default settings. Instead, use this recommended starting preset. Before you take your first step in a new virtual world, pause the game and configure your menu to match this list:
- Comfort Vignette / FOV Reduction: Turn it ON and set it to High or Strong.
- Turning Style: Set to Snap Turn.
- Snap Turn Angle: Set to 30 or 45 degrees.
- Movement Style: Set to Teleportation (if available).
- Movement Speed: Set to Low or Walk (if smooth movement is forced).
- Physical Environment: Turn on a physical desk fan in your real room and point it at your face. Emerging / limited evidence. While rigorous VR-specific clinical trials on airflow are limited, community reports and practical mechanisms suggest that feeling a constant breeze helps ground your brain in the real world and cools the sweating associated with nausea.
Finally, limit your initial sessions. Play for only 10 to 15 minutes at a time, and take the headset off the very moment you feel warm, dizzy, or "off." Never try to push through the nausea, as this will only teach your brain to associate the headset with feeling ill.
Tune It As You Adapt
The beauty of vr accessibility settings is that they do not have to be permanent. As you spend more short, comfortable sessions in virtual reality, your brain will slowly undergo a process called habituation. You will begin to develop your "VR legs."
Emerging / limited evidence. While exact, medically proven habituation schedules for VR are still limited in formal research, the practical consensus is clear: gradual, repeated exposure without pushing into severe nausea helps most users adapt. If you want to learn more about this process, read our guide on how to get VR legs.
Once you can comfortably play for 30 to 45 minutes using the strict preset above, you can start loosening the settings. Try reducing the comfort vignette from "High" to "Low." If that feels fine after a few days, try turning it off completely. Next, you might experiment with smooth locomotion while keeping snap turning enabled. By slowly peeling back the layers of comfort settings, you can safely transition to a more immersive experience without shocking your system.
If you are curious about the science behind other popular remedies—like ginger, acupressure bands, or motion sickness pills—you can explore our comprehensive breakdown to see what actually works versus the hype. And if you are looking for experiences that are inherently gentle and do not require heavy setting tweaks, check out our list of highly rated gentle VR games.
Medical Disclaimer: For most people, VR motion sickness fades shortly after removing the headset. However, if your dizziness, imbalance, or nausea lasts for hours or days after playing, or if it occurs without using VR, you should consult a doctor. This could be a sign of an underlying ear or vestibular condition.
Frequently asked questions
What VR comfort settings should I turn on first?
What is a comfort vignette?
Is snap turning or smooth turning better for motion sickness?
Do comfort settings reduce immersion?
What is the best movement setting for motion sickness?
This is general, evidence-based information, not medical advice. If dizziness or imbalance persists long after VR, or you have a known ear/vestibular condition, see a doctor.